Plan Now for Your Spring Fence Installation
Vinyl fencing offers privacy and enhanced curb appeal
March 15, 2022
While there may still be snow on the ground in some parts of the country, it’s the perfect time to get a head start on planning your springtime DIY fence project!
Vinyl fences are incredibly durable and require minimal maintenance. They are fade resistant, do not rot or need paint touch-ups, and make for a wise choice in the long run.
Getting to know your fencing options
Before starting your DIY project, get to know the fencing options available for your property:
Privacy Fences
Solid privacy fences are a traditional and popular style of fence that balances privacy with a design-forward style. Freedom Outdoor Living’s full privacy Emblem vinyl fence panel features decorative top and bottom rails, as well as GrippLok™ technology to eliminate sag. This type of fencing has no gaps and comes in different heights.
Semi-Private Fences
Semi-privacy fencing is designed to shield your property from the outside world while allowing air to flow in between boards to create a perfect balance between openness and solitude.

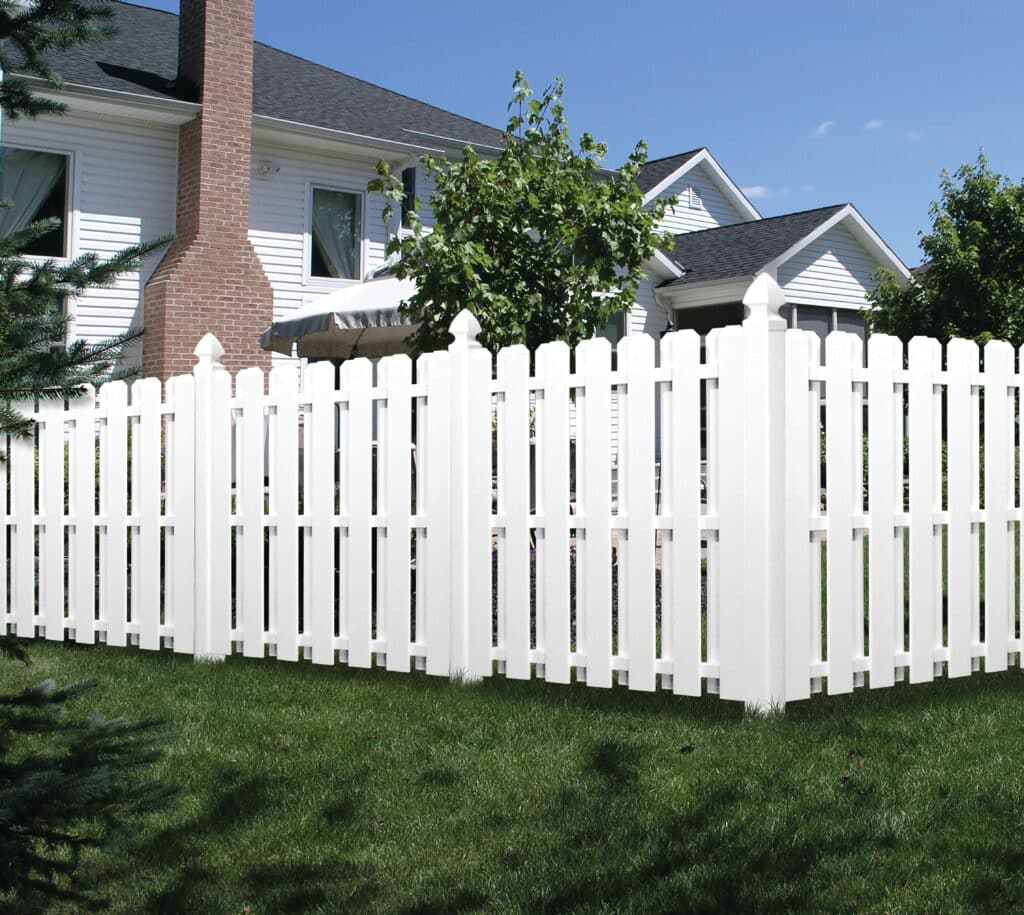
Picket Fences
If aesthetics are your thing, picket fences look classic and stunning. These fences help delineate your property boundary while giving it that “wow” factor.
Take a look at Freedom Outdoor Living vinyl fencing here.
DIY Fencing Installation
Next, we cover what you need to know to get started on your DIY fence install.
Project Approval Steps
- It’s a good idea and a courteous gesture to advise any neighbors of your plans, especially if their property lies along your fence area. Check county records or have a land surveyor confirm property lines.
- Check for easements in your deed that may limit your fence design.
- Call 811 to ask local utility providers for any underground utilities that prohibit an excavation. Digging without knowing what’s below the ground is dangerous. It’s also smart to check local zoning laws for regulations that may limit the size and placement of your fence.
- Call your local building inspector to obtain information for the depth, diameter and shape of your footings.
- Apply for the proper building permit as directed by your local code.
Measuring Your Yard & Creating Materials List
Before you can build your fence, you need to buy materials and measure your yard.
- Mark corners with a stake. The corners are where the fence panels will meet at a 90-degree angle.
- Measure the perimeter of the area in feet, using the stakes as a guide.
- Divide the perimeter by the size of the fence panels you plan to buy. The perimeter total is what you need.
After taking your measurements, you can plan your project’s budget. Make sure to get these materials together before your installation:
- Post Hole Digger
- Level
- Hammer
- Drill
- Screwdriver
- Tape Measure
- Mallet
- Trowel
- Vinyl Adhesive
- String
- Vinyl Fence Panels
- Vinyl Fence Posts
- Fence Rail Brackets
- Fence Post Accessories
- 3/4-in Screws
- 4-ft Sections of 2 x 4s
- Concrete Mix
- Ground Stakes
- Gravel
- 2-in x 4-in Lumber Rated for Outdoor Use
Marking Post Locations, Digging Post Holes, Setting Posts, Installing Fence Panels & Making Adjustments
Use fencing stakes to stake out your fence line from beginning to end, including corners and any gates.
Mark the fence layout and measure by tying a string between corner posts. This helps define the lines where the posts are placed.
Plan your post locations using panel measurement and stake out the line post locations. Measure on center from each corner post along the layout lines:
- For 6’ fence panels: use 5×5“ posts placed 73 1/4 inches apart on center
- For 8’ panels: use 4×4 posts placed 96 inches apart on center
Mark the post locations with stakes, and ensure they touch the layout string so the posts are in line.
Dig post holes deep and wide enough for your vinyl fence post. Using a post hole digger or power auger, dig the holes 10 inches in diameter, then dig six inches deeper to allow for gravel backfill before filling the hole with concrete. (A good rule-of-thumb is to put 1/3 of the post in the ground.)
Dig the gateposts six inches deeper for extra strength. Keep in mind the height of your fence panels when digging post holes.
Backfill each hole with six inches of gravel to drain water from the bottom of the post.
Following the gravel, fill the hole with concrete to speed the process.
Next, tap the posts in place so the concrete fills the center of the post, down to the top of the gravel. Then, plumb and level every post, and overfill holes at the top. Using a trowel, slope the concrete away from the post to avoid water collection.
Now you can install main posts, with end and corner posts first. Tie a string between the posts along the fence line to make sure they are set in line. Using a level on two adjacent sides, check each post to make sure they are plumb.
Finally, let the concrete set according to manufacturer instructions before installing the fence panels.
Assembling and Installing Gates
Apply the post tops by gluing them to the posts using vinyl adhesive. Follow that with vinyl fence adhesive around the inside of the top piece that contacts the post. Push and hold for 10 seconds, then wipe away excess adhesive.
Make sure to leave a 5/8-inch gap on each side between the gate and its posts for hardware clearance. The bottom of the fence and the bottom of the gate should align together.
Inside each gatepost insert two 2-by-4s for added strength for the attachment of gate hardware.
Note: if using 4”x4” gateposts, rip ½” off the wide side of the 2-by-4s. The wood level and the top of the post should be level.
Predrill holes for the hardware on the post and gate. All gate back rails contain wood inserts placed eight inches in from the end of the rail to allow hinges or latches to be attached to the gate.
Mount the hinge to the gate back rail using hinge lag screws, and mount the latch to the post with latch screws.
Cleaning Up the Worksite, Landscaping Ideas, Maintaining Your Vinyl Fence
After finishing your fence installation it’s a good idea to take a break and appreciate the fruits of your labor. Your hard work has almost paid off! Next up is cleaning your worksite.
Be sure to remove any debris and inspect your fence for damage caused by installation error. Any landscape damage should be minimal and can be cleaned using nothing more than a rake. Check with your local recycling facilities to possibly recycle unused vinyl product.
Next, take stock of what your lawn looks like with a new fence. Don’t be surprised if you get inspired with landscaping ideas! Many property owners choose to plant ornamental grasses or shrubs in front of vinyl fences. Your gardener can suggest further improvements.
And while the hard part of installing your fence is complete, you should periodically check for damage or wear – especially following a storm or weather event.
One of the great advantages of vinyl fencing is the low maintenance costs involved, which is why you chose vinyl in the first place!
Here are a few regular care tips for your new vinyl fence:
- Wash regularly
- Remove any mildew that grows
- Cut overhanging branches
- Conduct annual inspections
- Fix damage immediately
From pickets to privacy and everything in between, Freedom Outdoor Living’s vinyl fencing delivers style and provides long-lasting durability with minimal maintenance.
Click here to learn more about Freedom Outdoor Living vinyl fencing.